Fail2ban,解决网站被扫描、CC攻击、ssh暴力破解、防爬虫等问题

介绍
Fail2ban可以监视你的系统日志,然后匹配日志的错误信息(正则式匹配)执行相应的屏蔽动作(一般情况下是调用防火墙屏蔽),如:当有人在试探你的HTTP、SSH、SMTP、FTP密码,只要达到你预设的次数,fail2ban就会调用防火墙屏蔽这个IP,而且可以发送e-mail通知系统管理员,是一款很实用、很强大的软件!
Fail2ban由python语言开发,基于logwatch、gamin、iptables、tcp-wrapper、shorewall等。如果想要发送邮件通知道,那还需要安装postfix或sendmail。
在外网环境下,有很多的恶意扫描和密码猜测等恶意攻击行为,使用Fail2ban配合iptables,实现动态防火墙是一个很好的解决方案。
安装
编译安装
编译安装fail2ban,需要从官网下载包 fail2ban-0.9.4 ,解压安装即可。
cd /usr/loca/src
wget https://github.com/fail2ban/fail2ban/archive/0.9.4.tar.gz
tar -zxf 0.9.4.tar.gz
mv 0.9.4 fail2ban-094
cd fail2ban-094
./setup.pyapt|yum安装
#Ubuntu
apt-get install fail2ban
sudo apt update && sudo apt install fail2ban
#CentOS
yum -y install epel-release
yum -y install fail2ban
# CentOS内置源并未包含fail2ban,需要先安装epel源
yum -y install epel-release
yum -y install fail2ban-firewalld目录结构
/etc/fail2ban                    # fail2ban 服务配置目录
/etc/fail2ban/action.d           # iptables 、mail 等动作文件目录
/etc/fail2ban/filter.d           # 条件匹配文件目录,过滤日志关键内容
/etc/fail2ban/jail.conf          # fail2ban 防护配置文件
/etc/fail2ban/fail2ban.conf      # fail2ban 配置文件,定义日志级别、日志、sock 文件位置等

cd /etc/fail2ban                 # 进入配置文件所在的目录

cp jail.conf jail.local          # 备份配置文件
cp fail2ban.conf fail2ban.local
测试是否正常运行
fail2ban-client ping设置fail2ban开机自启动
systemctl enable fail2ban查看iptables的禁用情况
iptables -nvL
iptables -L | tail -4
配置防护
sshd策略
进入fail2ban的目录,复制一份配置文件:
cd /etc/fail2ban

sudo cp fail2ban.conf fail2ban.local
sudo cp jail.conf jail.local 修改jail.local配置文件启动sshd策略。
sudo vim jail.local

# 定位到285行左右,添加一行:
enabled = true

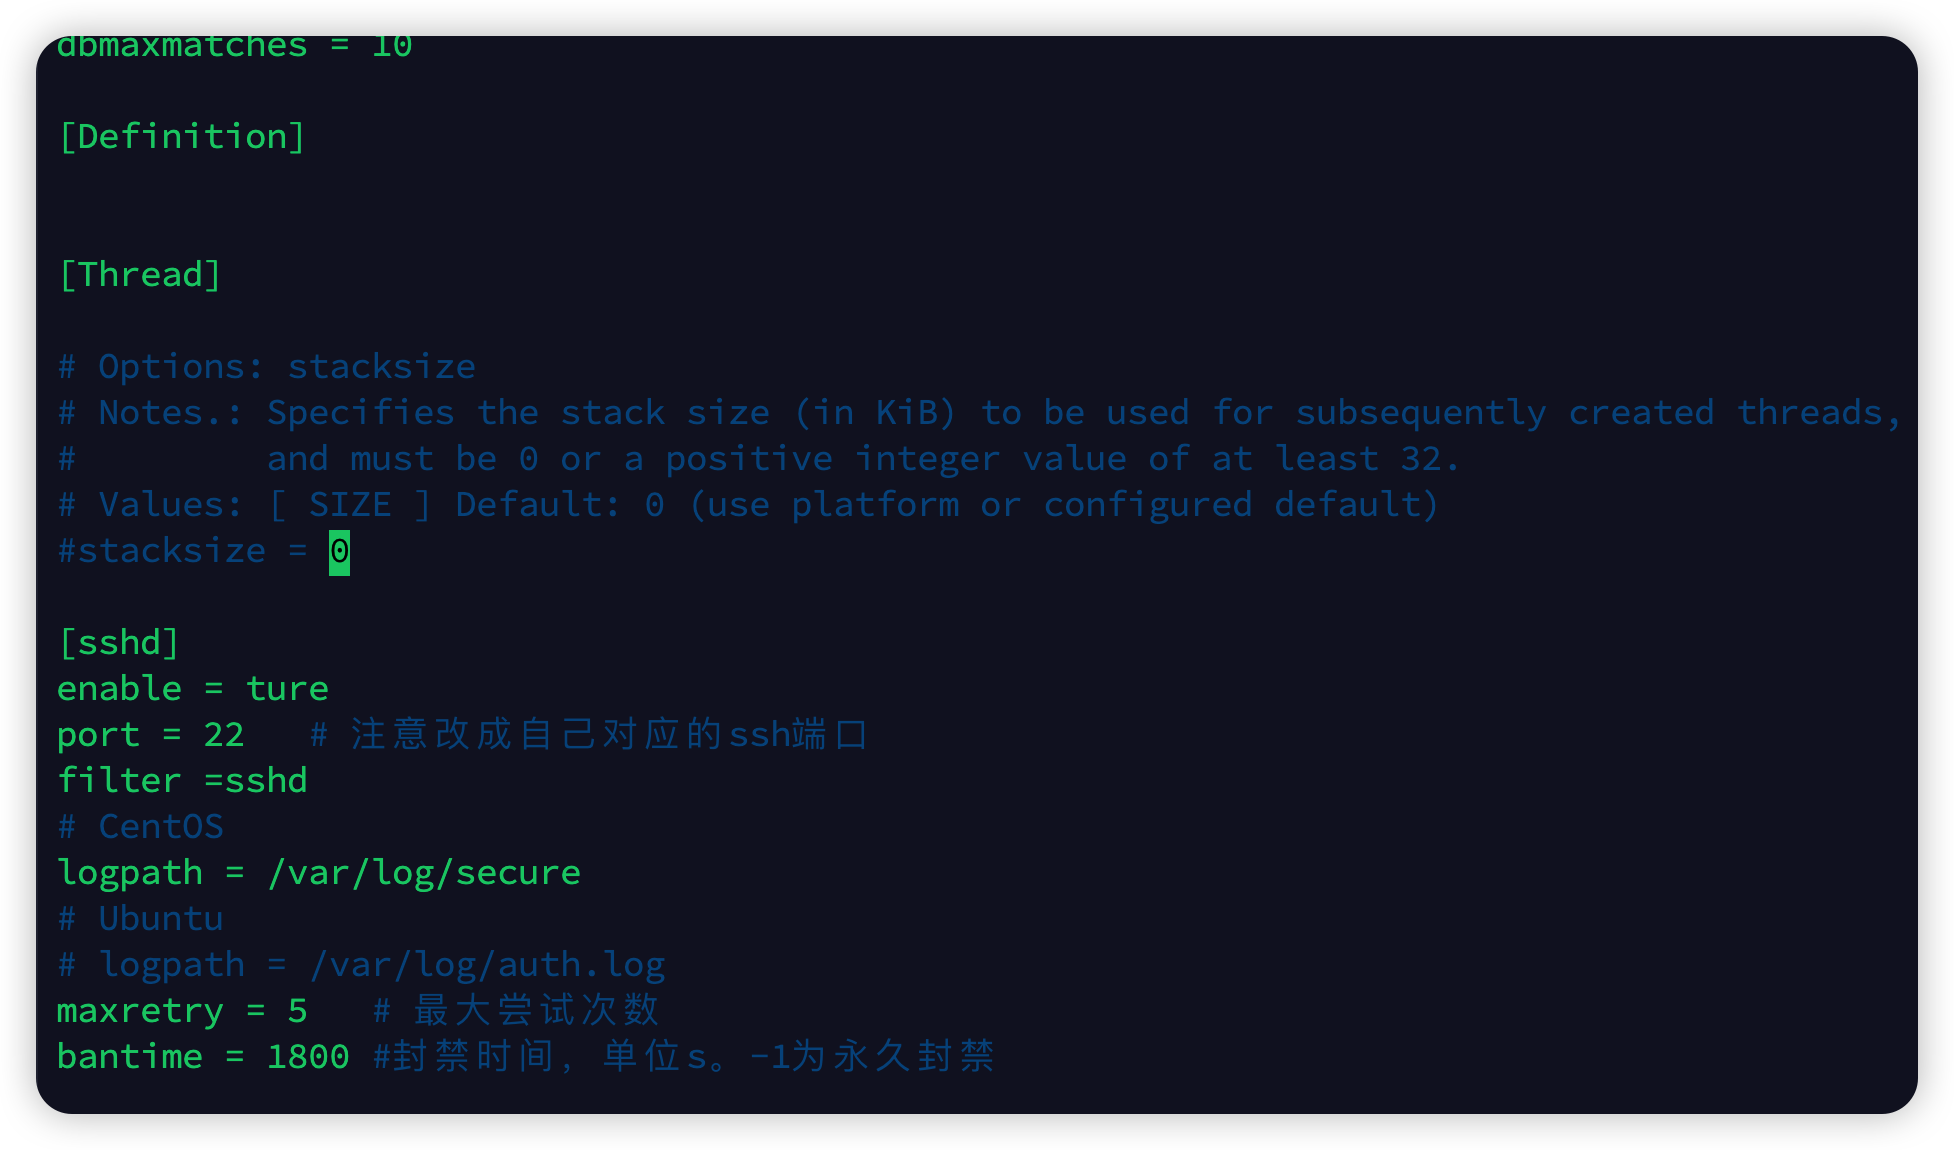
修改fail2ban.local,定位到最后一行,添加如下内容(CentOS使用如下配置):
[sshd]
enable = ture
port = 22   # 注意改成自己对应的ssh端口
filter =sshd
# CentOS
logpath = /var/log/secure
# Ubuntu
# logpath = /var/log/auth.log
maxretry = 5   # 最大尝试次数
bantime = 1800 #封禁时间,单位s。-1为永久封禁
保存配置,重启生效。
sudo systemctl restart fail2ban  #重启
sudo fail2ban-client status #查看状态
sudo fail2ban-client status sshd #查看sshd的详细状态
首先编写封禁访问nginx 404状态码的ip地址的配置规则
vim /etc/fail2ban/filter.d/nginx.conf

[Definition]
failregex = <HOST> -.*- .*HTTP/1.* 404 .*$
ignoreregex =
保存后测试配置文件相对于日志是否正确
fail2ban-regex /home/wwwlogs/access.log /etc/fail2ban/filter.d/nginx.conf 然后将封禁规则加入配置文件
vim /etc/fail2ban/jail.conf   # 文件尾部写入

[nginx]
enabled = true
port = http,https
filter = nginx                          # 规则文件的名字
action = iptables[name=nginx, port=http, protocol=tcp]
# sendmail-whois[name=tomcat, dest=abc@mail.com] 发送邮件功能
logpath = /home/wwwlogs/access.log      # 日志路径
bantime = 14400                         # 封禁的时间
findtime = 3                            # 在几秒内
maxretry = 2                            # 有几次
启动
/etc/init.d/iptables start
/etc/init.d/fail2ban start 或 fail2ban-client start
查看状态等命令
fail2ban-client start # 启动
fail2ban-client reload # 重载
fail2ban-client stop # 停止
fail2ban-client status # 查看状态
fail2ban-client set nginx addignoreip 180.158.35.30 # 将ip加入nginx监狱的白名单
fail2ban-client set nginx delignoreip 180.158.35.30 # 将ip移除nginx监狱的白名单
fail2ban-client set nginx banip IP地址 # 手工ban
fail2ban-client set nginx unbanip IP地址 # 手工解
查看fail2ban的日志
Fail2ban从黑名单中移除IP
fail2ban从黑名单(ban list)中移除IP的方法:
fail2ban-client set sshd unbanip 8.8.8.8

# 此时再查看banlist会发现IP已移除。
fail2ban-client status sshd

iptables -nvL
Fail2ban重启默认清除iptables,取消默认
vim /etc/fail2ban/action.d/iptables-common.conf

# 屏蔽下面的一行配置即可
# actionflush = <iptables> -F f2b-<name>

# 重启fail2ban服务 根据系统配置,命令可能不一样
systenctl reload fail2ban.server
PS
将SSH多次登录失败的IP加入黑名单